Songs & Setlist
The Setlist section on a performance page is where you organize all the songs for an event — in order, with audio, stems, lyrics, chords, and more. Whether you're preparing for a gig or running a rehearsal, the Setlist keeps everyone on the same page.
The Setlist Section
The Setlist is one of the configurable sections on a Performance page. When enabled, it displays an ordered list of songs that the band will play.
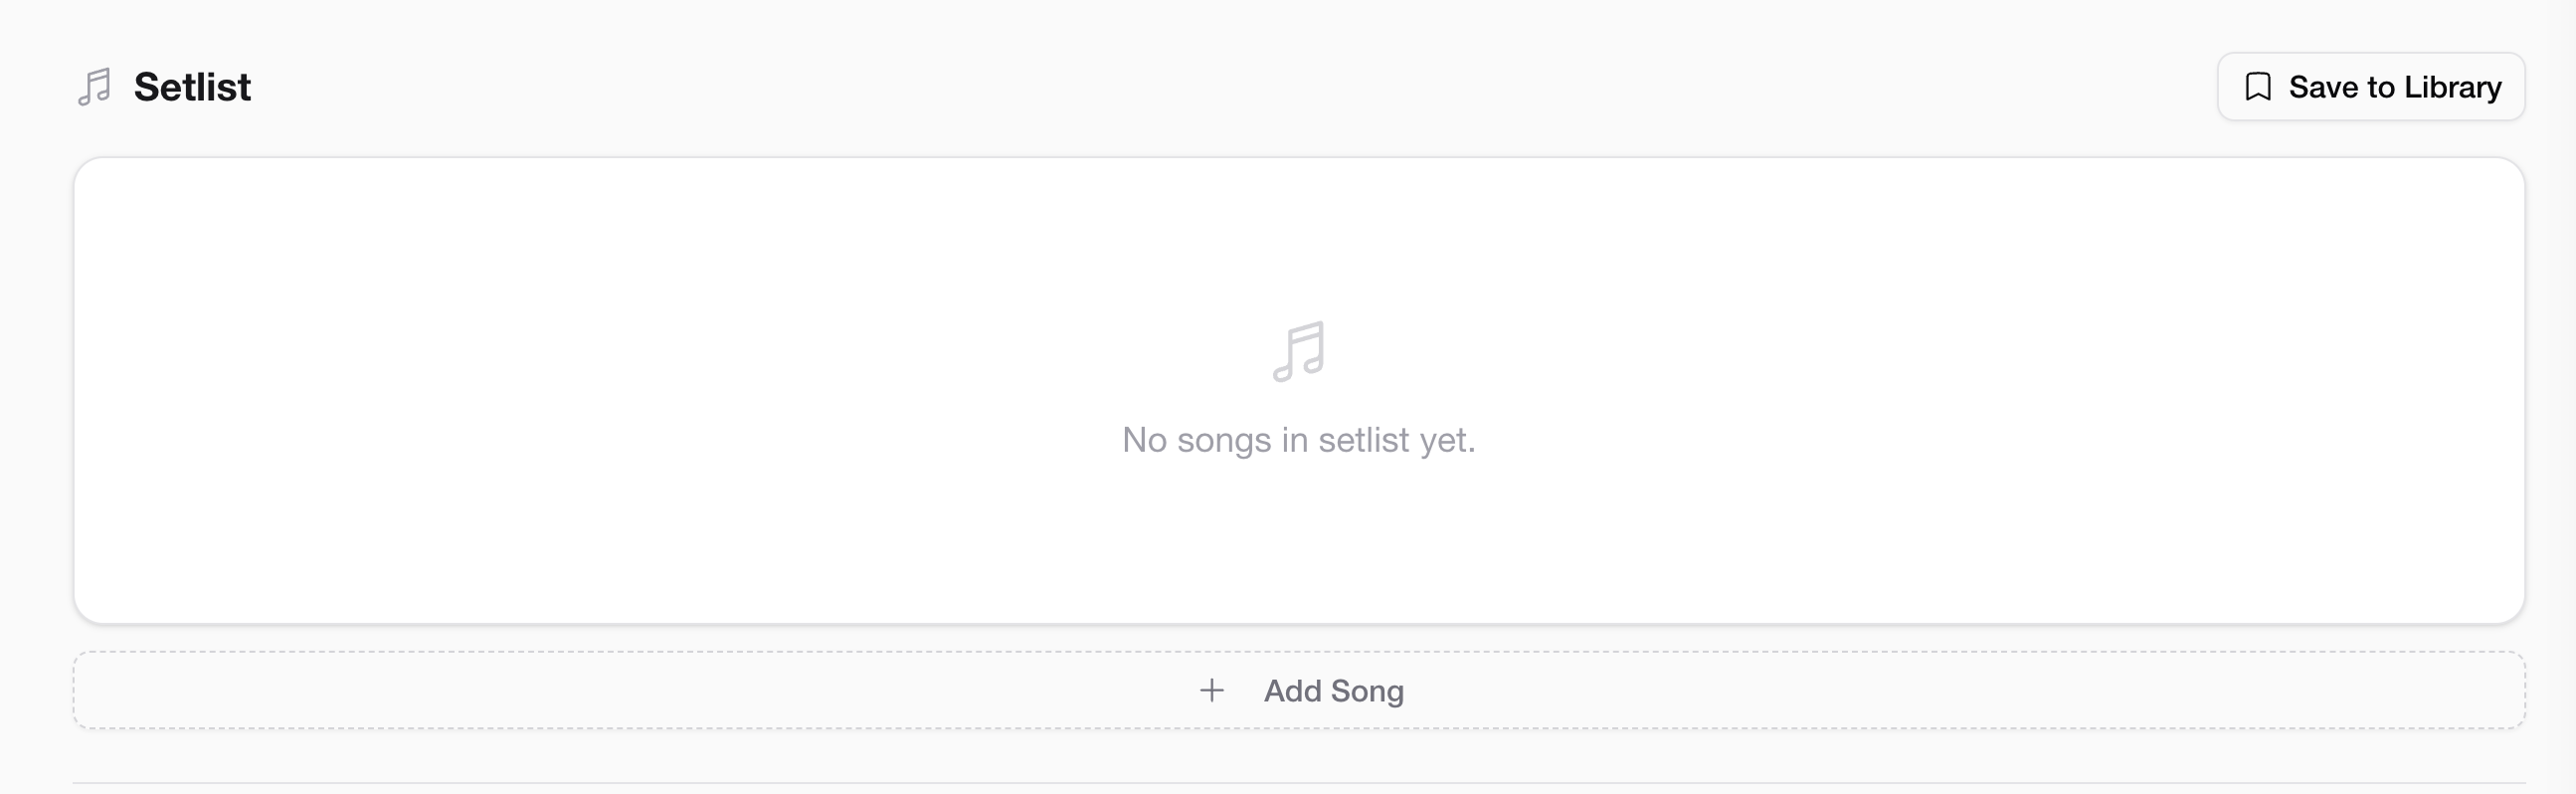 Setlist overview
Each song in the setlist can have:
- An audio file (the full mix)
- Stems — individual audio tracks separated by instrument (vocals, guitar, bass, drums, keys, etc.)
- A YouTube link for reference
- Lyrics
- Chord transcription
Adding a Song to the Setlist
- On the performance page, scroll to the Setlist section.
- Click "+ Add Song".
- Enter the song title.
- Optionally, upload an audio file (MP3, WAV, or other common formats).
- Click Save — the song appears at the bottom of the setlist.
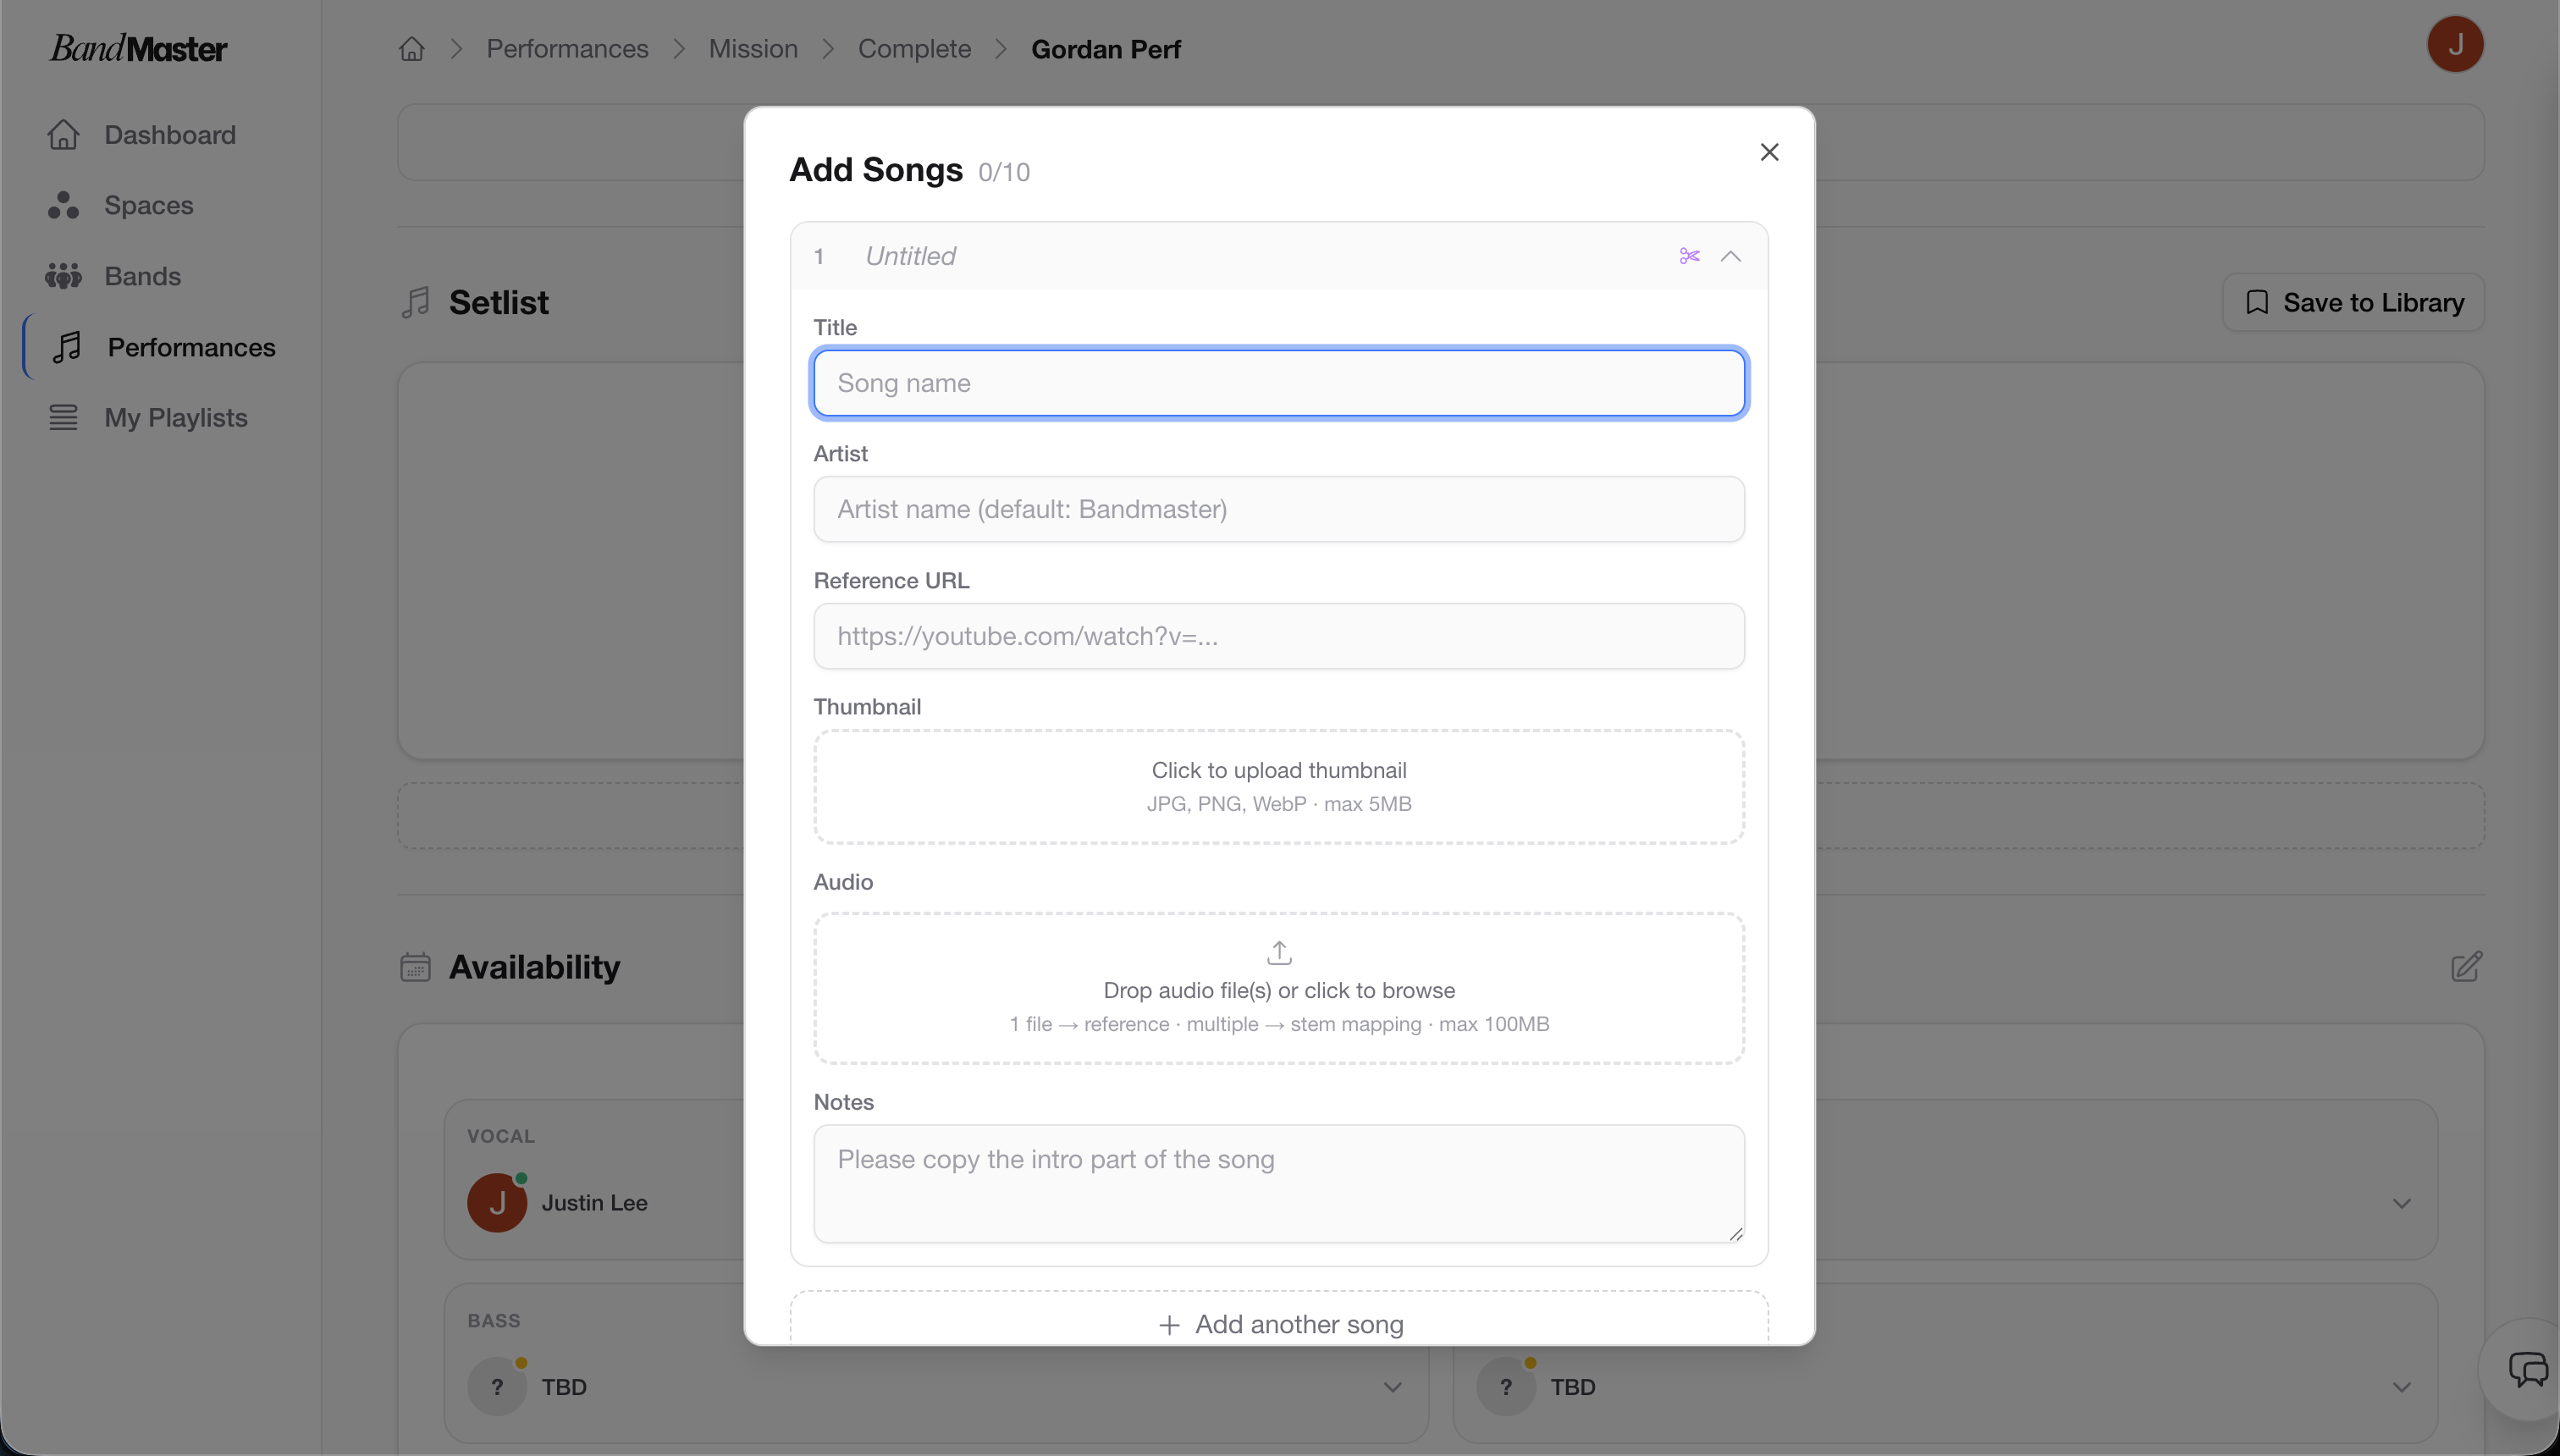 Adding a new song
Tip: You don't need to have audio ready to add a song. You can add songs by title first to plan the setlist order, then attach audio files later when they're ready.
Reordering Songs
The setlist order matters — it reflects the actual running order of the performance.
To reorder songs, drag and drop them into the desired position:
- Hover over the song you want to move — a drag handle will appear on the left side.
- Click and hold the drag handle.
- Drag the song up or down to its new position.
- Release to drop it in place.
The new order is saved automatically.
Stems — Individual Instrument Tracks
Stems are individual audio tracks for each instrument in a song (e.g., a separate track for vocals, one for guitar, one for bass, one for drums). They're extremely useful for practice — you can mute your own instrument and play along.
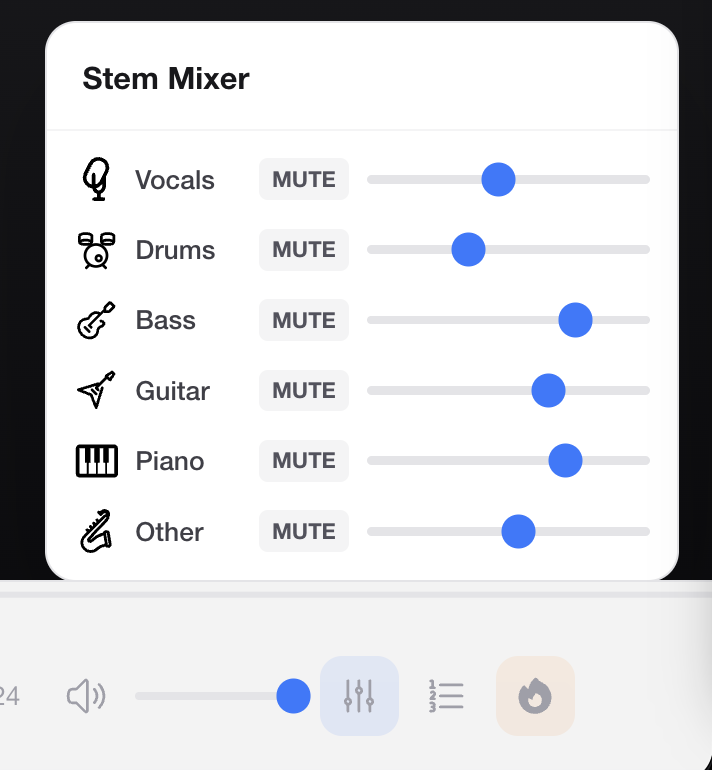 Stem volume controls
Uploading Stems Manually
If you already have stems as separate audio files (e.g., exported from your DAW), you can upload each one individually:
- Open the song detail view.
- In the Stems section, click "+ Add Stem".
- Name the stem (e.g., "Vocals", "Guitar", "Bass").
- Upload the corresponding audio file.
- Repeat for each instrument.
Stem Splitting with AI
Don't have separate stem files? Bandmaster can automatically split a full mix into individual stems using AI.
- Open the song detail view.
- Click "Split Stems" (available when a full audio file is attached).
- The AI will process the audio and generate separate tracks for vocals, guitar, bass, drums, and other instruments.
- Once complete, the stems appear in the Stems section, ready to use.
Tip: Stem splitting works best on recordings with clear, well-separated instruments. It may take a minute or two to process depending on the length of the song.
Controlling Stem Volume
Each stem has its own volume slider, so you can mix the tracks to suit your practice needs.
- Mute your own instrument to practice playing along with the rest of the band.
- Boost a specific part (e.g., raise the vocals) to focus on learning the melody.
- Solo a single stem to isolate and study a particular instrument.
Volume settings are personal — changing them on your device doesn't affect what other band members hear.
Chord Transcription
For bands that work with chord charts, you can attach a chord transcription to each song.
- Open the song detail view.
- Click "Add Chords" (or the edit icon next to the Chords section).
- Enter the chord transcription in the text editor.
- Save.
Tip: Chord transcriptions are great for giving members a quick reference without needing a full sheet music PDF. Use the Music Sheet section on the performance page if you need to attach a full PDF score.
Next Steps
- Performances — Manage the full performance page, sections, and settings.
- Recurring Events — Automatically schedule repeated rehearsals or events.