Recurring Events
Recurring Events (called Schedules in Bandmaster) let you automatically generate a series of performances that repeat on a regular pattern. Instead of manually creating a new performance every week for your rehearsals, you set up a schedule once and Bandmaster creates all the individual performances for you.
What Are Schedules?
A Schedule defines a repeating pattern for performances. When you save a schedule, Bandmaster generates individual performance entries for every occurrence between the start and end date.
Common use cases:
- Weekly rehearsals — Every Tuesday evening, your band gets together to practice.
- Biweekly band meetings — Every other Monday to review plans and set goals.
- Monthly gigs — A regular slot at a local venue on the first Friday of each month.
Each generated performance is fully independent — you can edit its setlist, notes, or other details without affecting the other performances in the schedule.
Creating a Schedule
You can create a schedule from the Space page or from the Create Performance dialog.
From the Space Page
- Navigate to your Space page.
- Click "+ Add Schedule".
- The Create Schedule dialog will open.
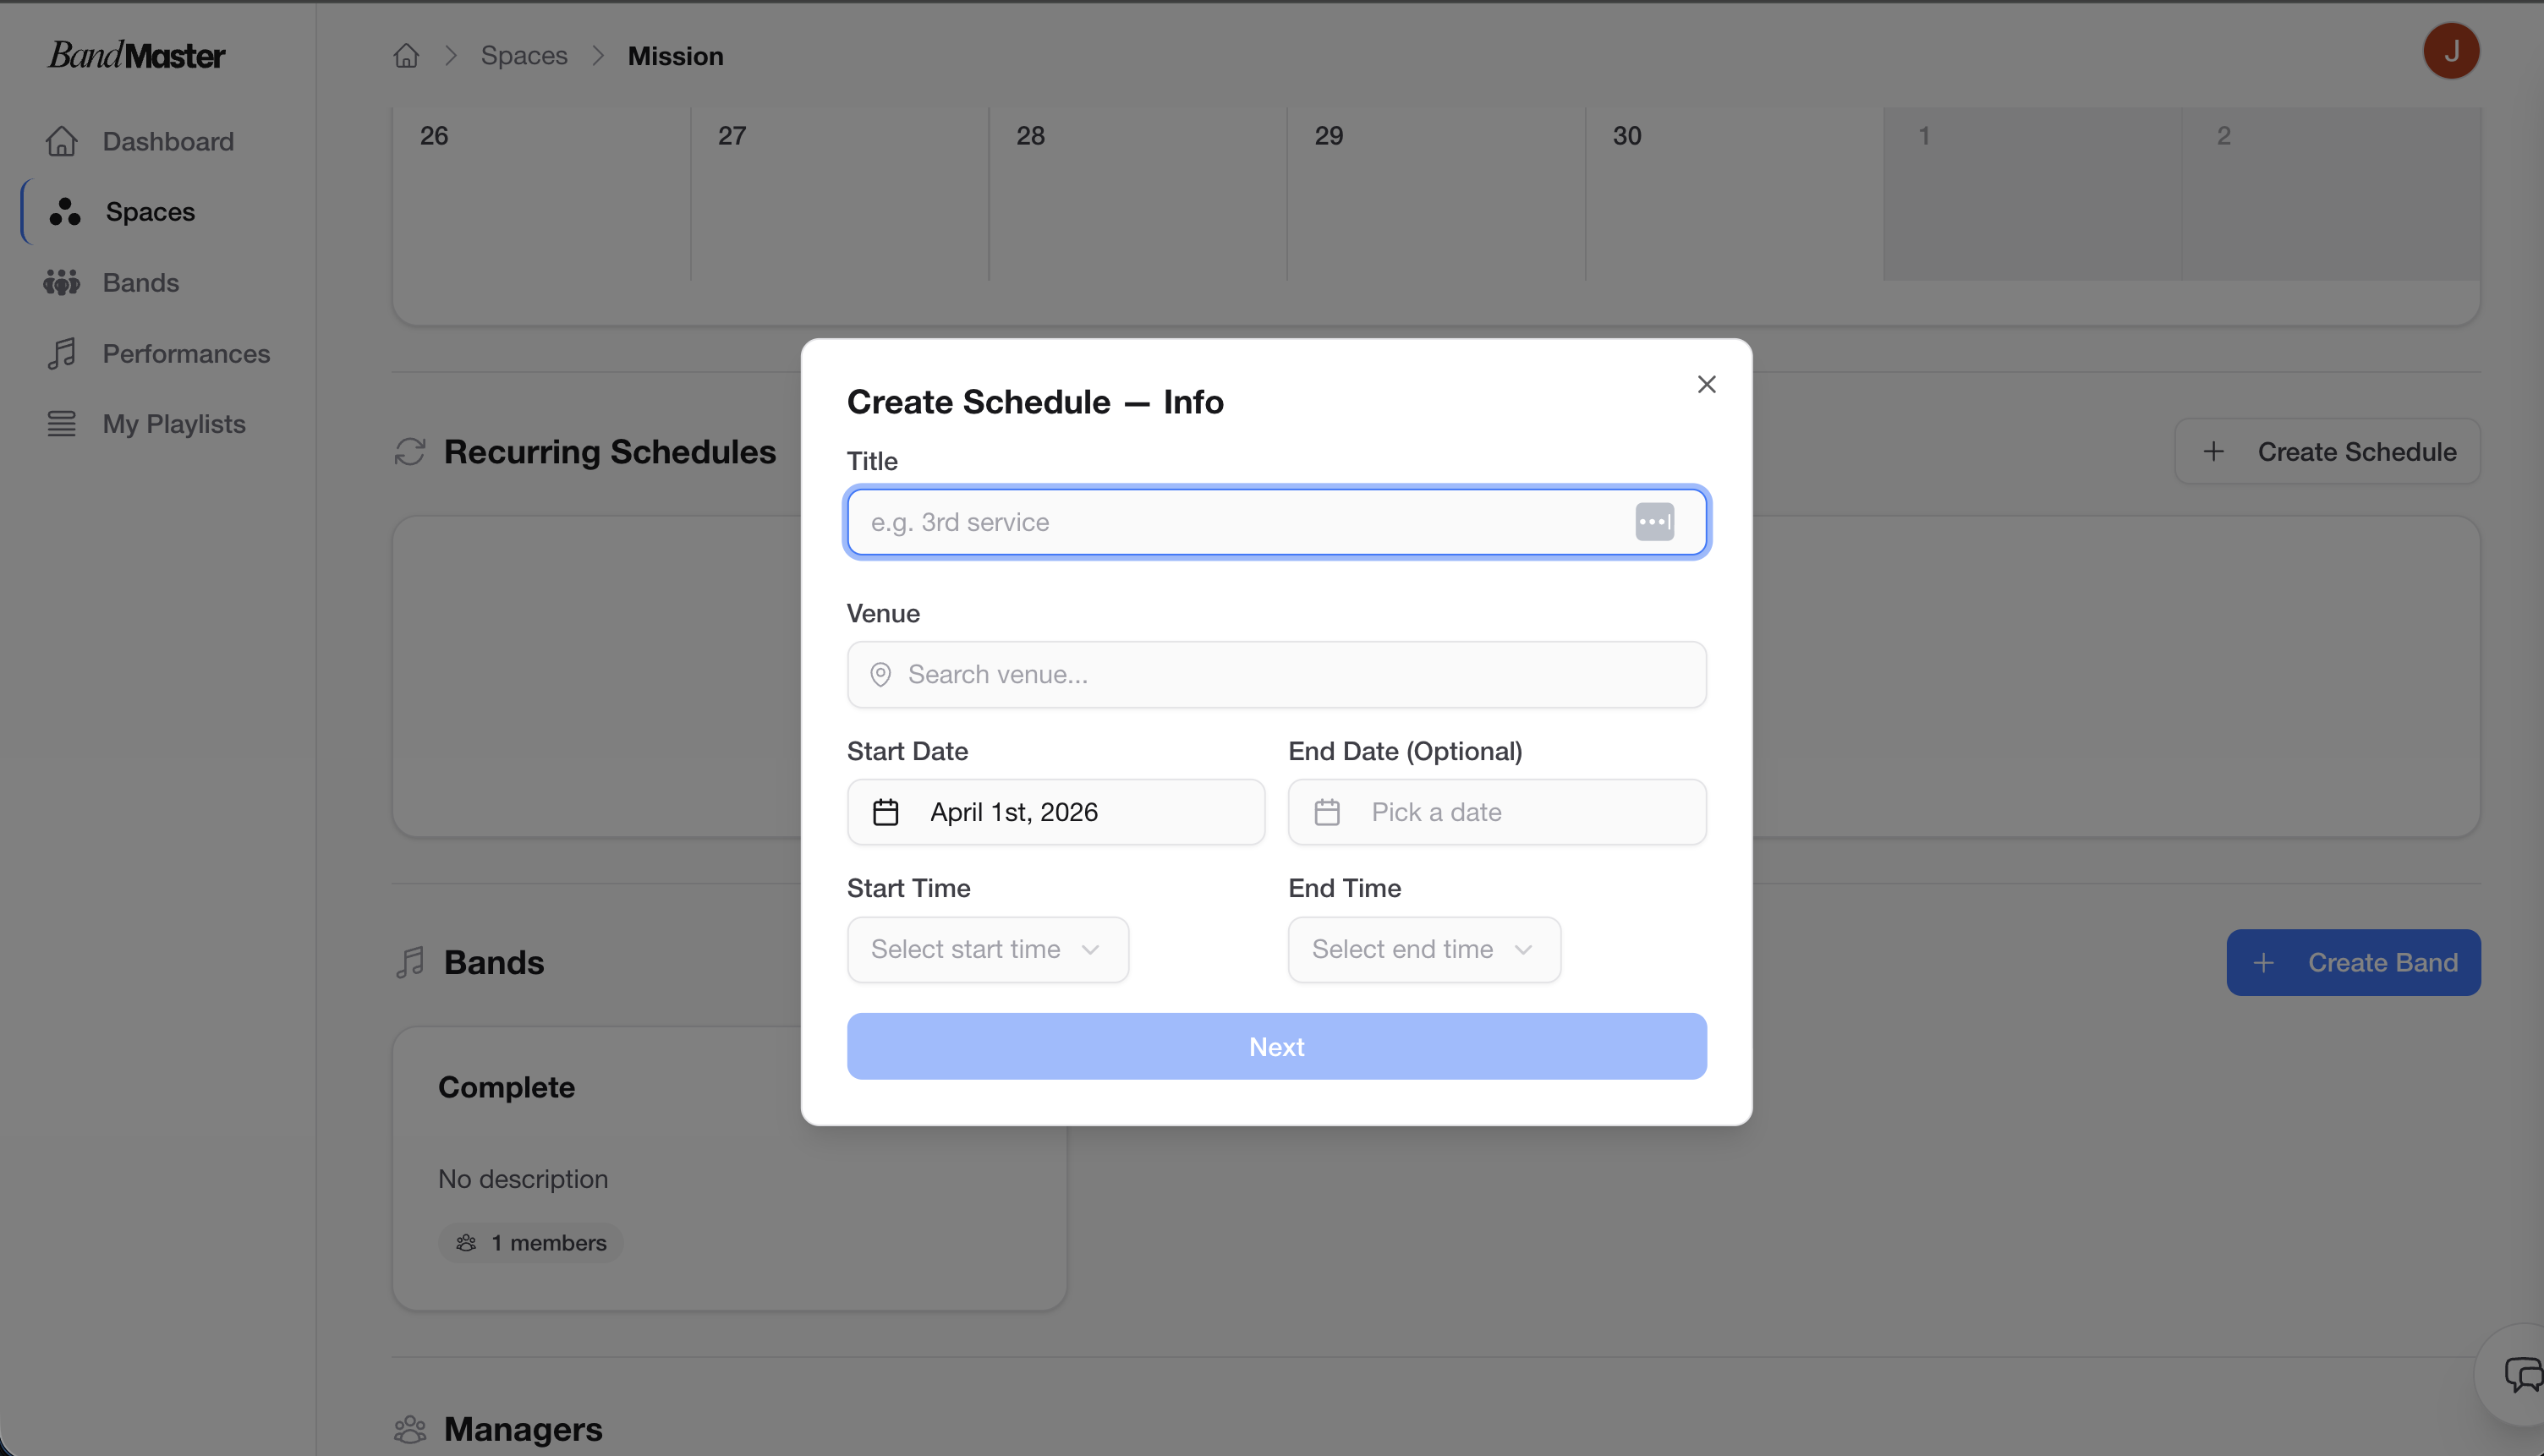 Create schedule dialog
Step-by-Step: Filling in the Schedule
Step 1 — Title
Give the schedule a descriptive name, such as:
- "Weekly Rehearsal"
- "Monthly Band Meeting"
- "Friday Night Residency"
Step 2 — Select Band
Choose which band this schedule belongs to. All generated performances will be associated with that band.
Step 3 — Set Start Date
Pick the date when the first performance should be created. This is the beginning of the recurring period.
Step 4 — Set End Date
Pick the date when the schedule should stop generating performances. Performances will be created up to and including any occurrences on or before this date.
Tip: If you're not sure how long the schedule will run, set a generous end date. You can always delete unwanted future performances individually, or edit the schedule to change the end date.
Step 5 — Choose Recurrence Pattern
Select how often the performances repeat:
| Option | Description |
|---|---|
| Weekly | One occurrence every week |
| Biweekly | One occurrence every two weeks |
| Monthly | One occurrence per month |
Step 6 — Select Days of the Week
For Weekly and Biweekly schedules, select which day(s) of the week the performance falls on.
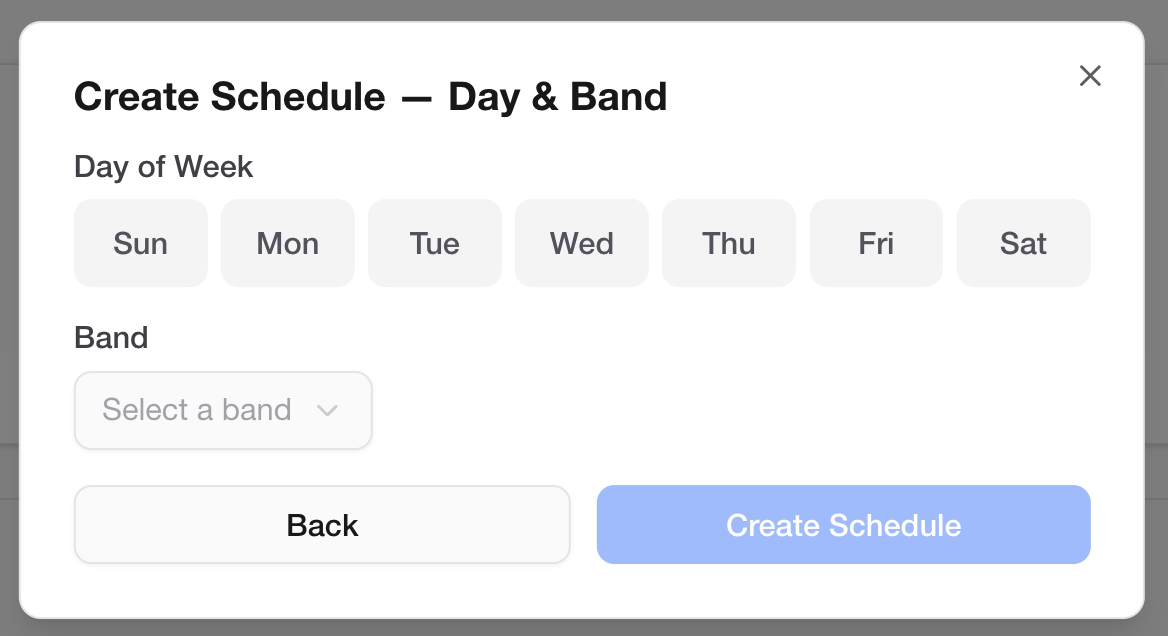 Days of week picker
For example:
- Select Tuesday for a weekly Tuesday rehearsal.
- Select Monday and Thursday if your band rehearses twice a week.
Tip: You can select multiple days if your band meets more than once a week. Each selected day will generate its own performance occurrence.
Step 7 — Save
Click Save. Bandmaster will immediately generate all the individual performances for the dates defined by your schedule. You'll see them appear on the calendar and in your Space's performance list.
Viewing Recurring Events on the Calendar
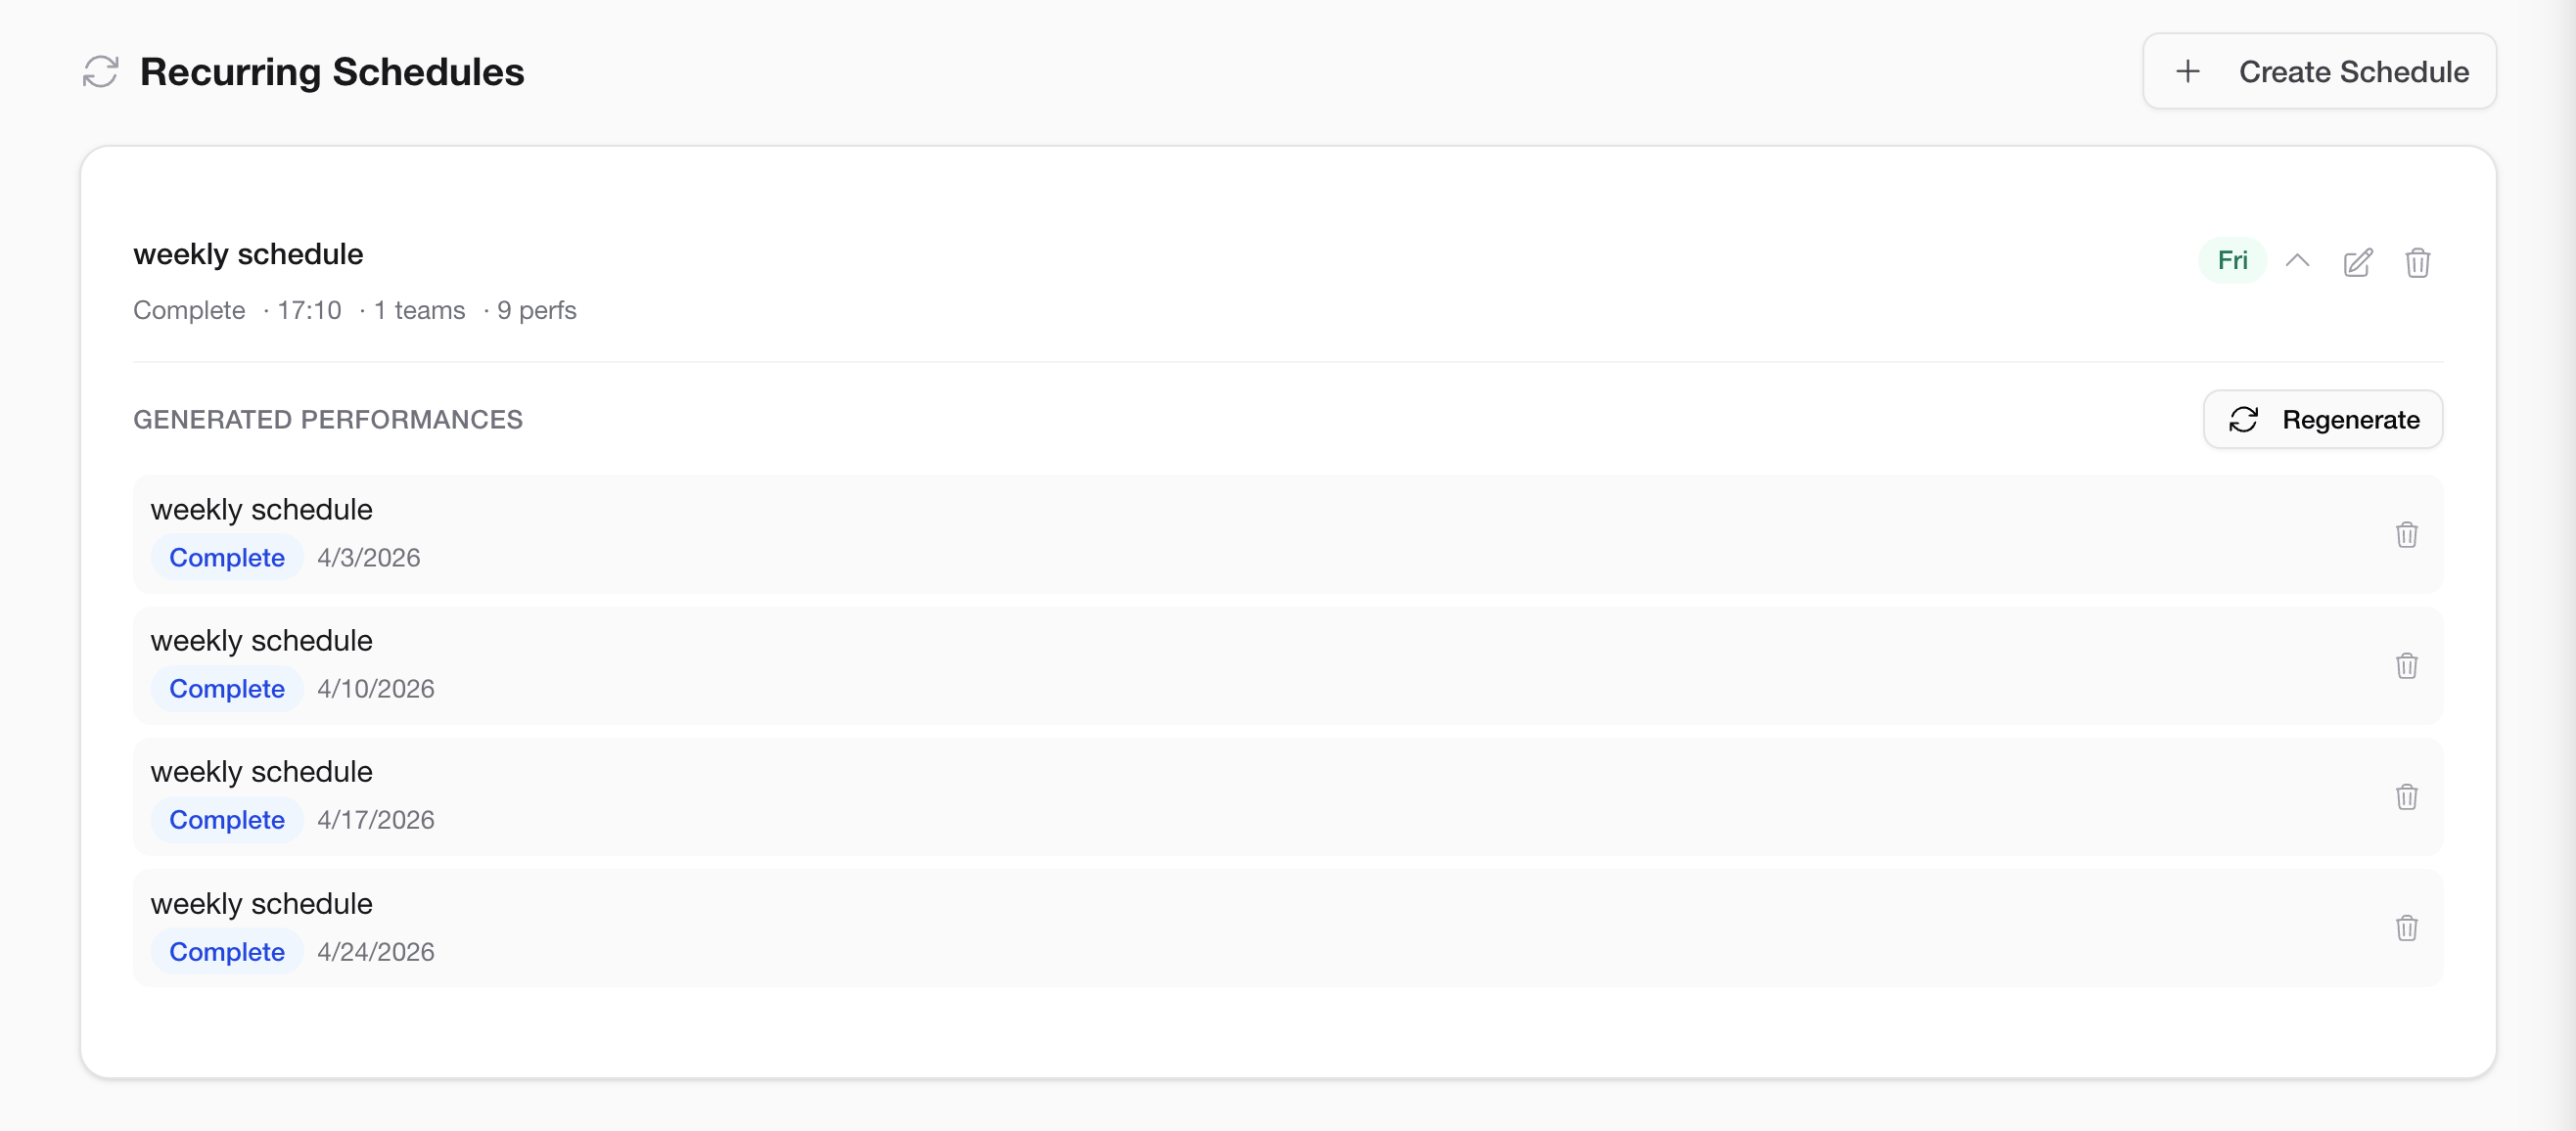
Generated performances from a schedule appear on the calendar just like any other performance, but they are visually grouped or labeled so you can tell they belong to a recurring series.
 Recurring events on calendar
- Recurring performances show the schedule title alongside the performance.
- You can click on any individual occurrence to open its performance page.
- The calendar makes it easy to get a bird's-eye view of how your schedule looks over the coming weeks or months.
Managing Schedules
Viewing Your Schedules
All schedules associated with your Space are listed in the Schedules section of the Space page. From here you can see each schedule's title, band, recurrence pattern, and date range at a glance.
 Managing existing schedules
Editing a Schedule
- Find the schedule in the Schedules list.
- Click Edit (or the pencil icon).
- Update any of the details — title, end date, recurrence pattern, or selected days.
- Save your changes.
Note: Editing a schedule affects future performances that haven't been customized. If you've already edited an individual performance within the schedule, those changes are preserved.
Deleting a Schedule
- Find the schedule in the Schedules list.
- Click Delete (or the trash icon).
- Confirm the deletion.
Deleting a schedule removes the schedule definition. You'll be asked whether to also delete the generated performances, or to keep them as standalone performances.
Editing Individual Performances
Performances generated by a schedule are fully independent once created. You can open any individual occurrence and:
- Change the title or date/time.
- Add a setlist, notes, or queue.
- Update the availability or status.
- Edit any other section.
Changes to one performance do not affect other performances in the same schedule. This is useful when a particular rehearsal has a different focus, or when a gig has unique setlist requirements compared to the regular schedule.
Tip: Think of the schedule as a way to quickly populate your calendar with placeholder events. Then go into each individual performance to fill in the details as the date approaches.
Next Steps
- Performances — Learn about the full performance page and its sections.
- Songs & Setlist — Add songs, audio, and stems to a performance.